MCP-Server
Set up AntFlow as a Model Context Protocol (MCP) server and connect it to your tool.
Setup
For all following steps you need an API-Token.
To create one:
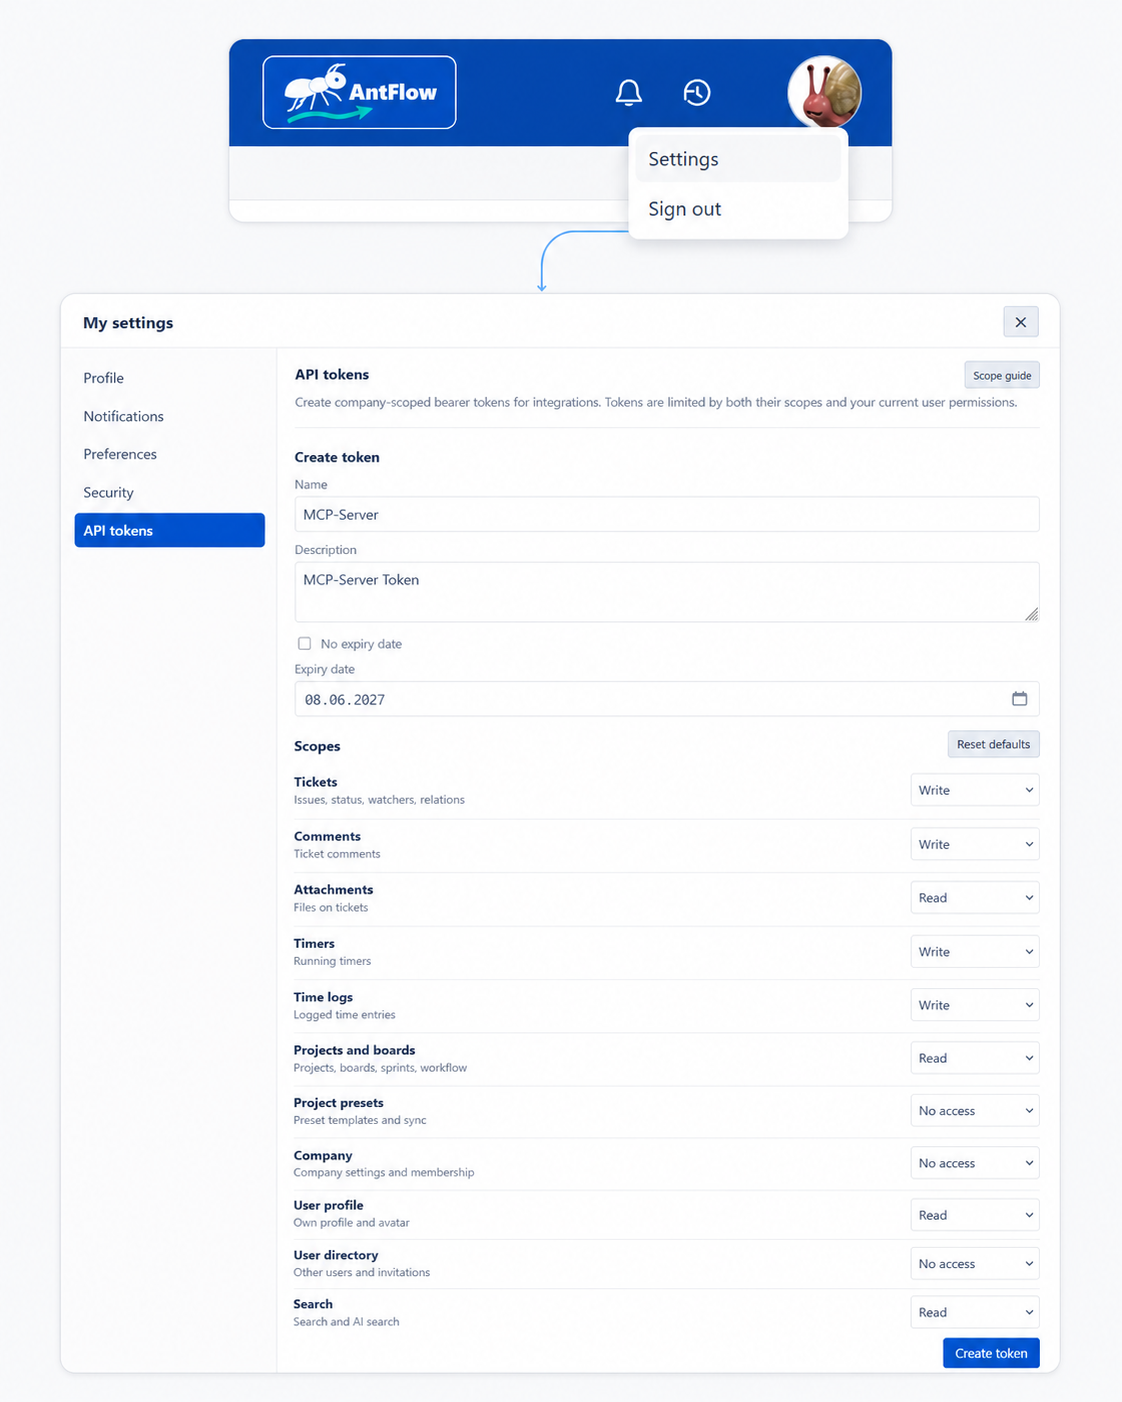
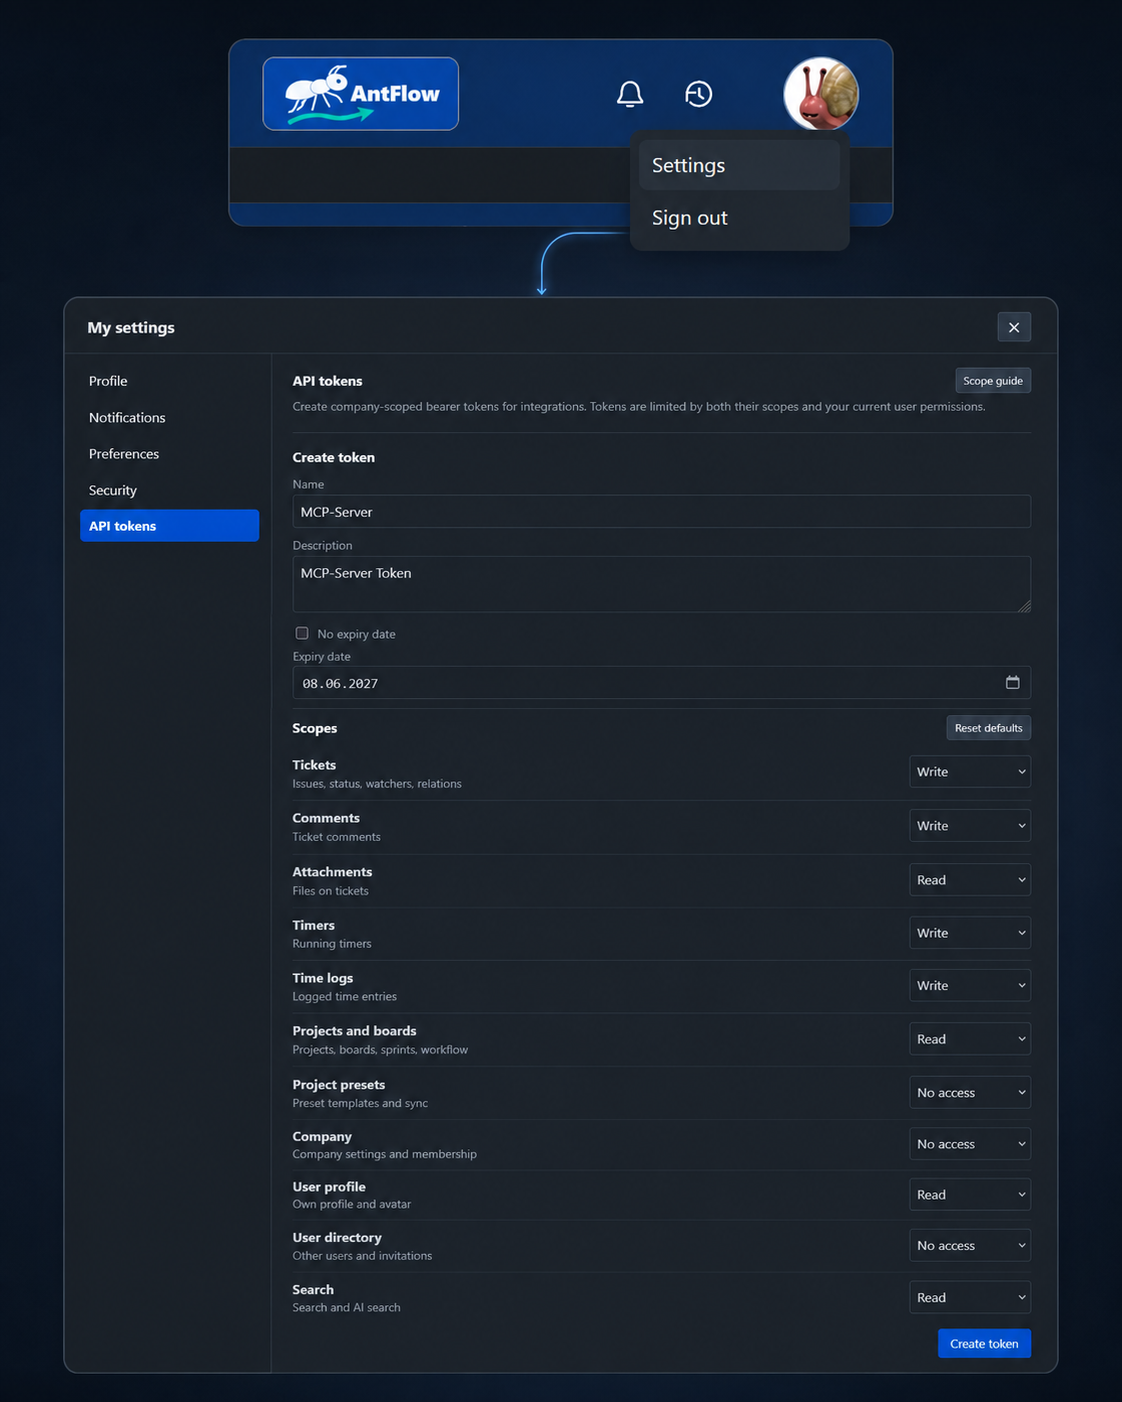
- Go to your User Settings in AntFlow.
- Go to API tokens and create one with the permissions you want the AI to be able to access.
- Remember to write down / copy the displayed API-Token as it is needed later.
It will only be shown once.
Create API-Token
- Press: "CTRL + Shift + P (Command Palette)"
- Find: "MCP: Open User Configuration"
or for only the Workspace "MCP: Open Workspace Folder Configuration" Add the following Server Infos to the JSON.
{
 "servers": {
   "antflow": {
     "type": "http",
     "url": "https://app.antflow.de/api/mcp",
     "headers": {
       "Authorization": "Bearer ${input:antflow-api-token}"
     }
   }
 },
 "inputs": [
   {
     "id": "antflow-api-token",
     "type": "promptString",
     "description": "AntFlow API token",
     "password": true
   }
 ]
}
- Go to "Settings | Tools | AI Assistant | Model Context Protocol (MCP)"
Click Add, choose the HTTP/Streamable HTTP option, and use this JSON
Replace <our-antflow-api-token> with your previously created token.
{
 "mcpServers": {
   "antflow": {
     "url": "https://app.antflow.de/api/mcp",
     "headers": {
       "Authorization": "Bearer <your-antflow-api-token>"
     }
   }
 }
}
Please consult your tool's documentation in how to set-up MCP-Servers.
It will need the following information in one form or another:
- Type: "HTTP"
- URL: "https://app.antflow.de/api/mcp"
- Header: "Authorization: Bearer <your-antflow-api-token>"
Replace <our-antflow-api-token> with your previously created token.